


Creating Shared cards
Go to the “Cards” page and click “+ Create card”.
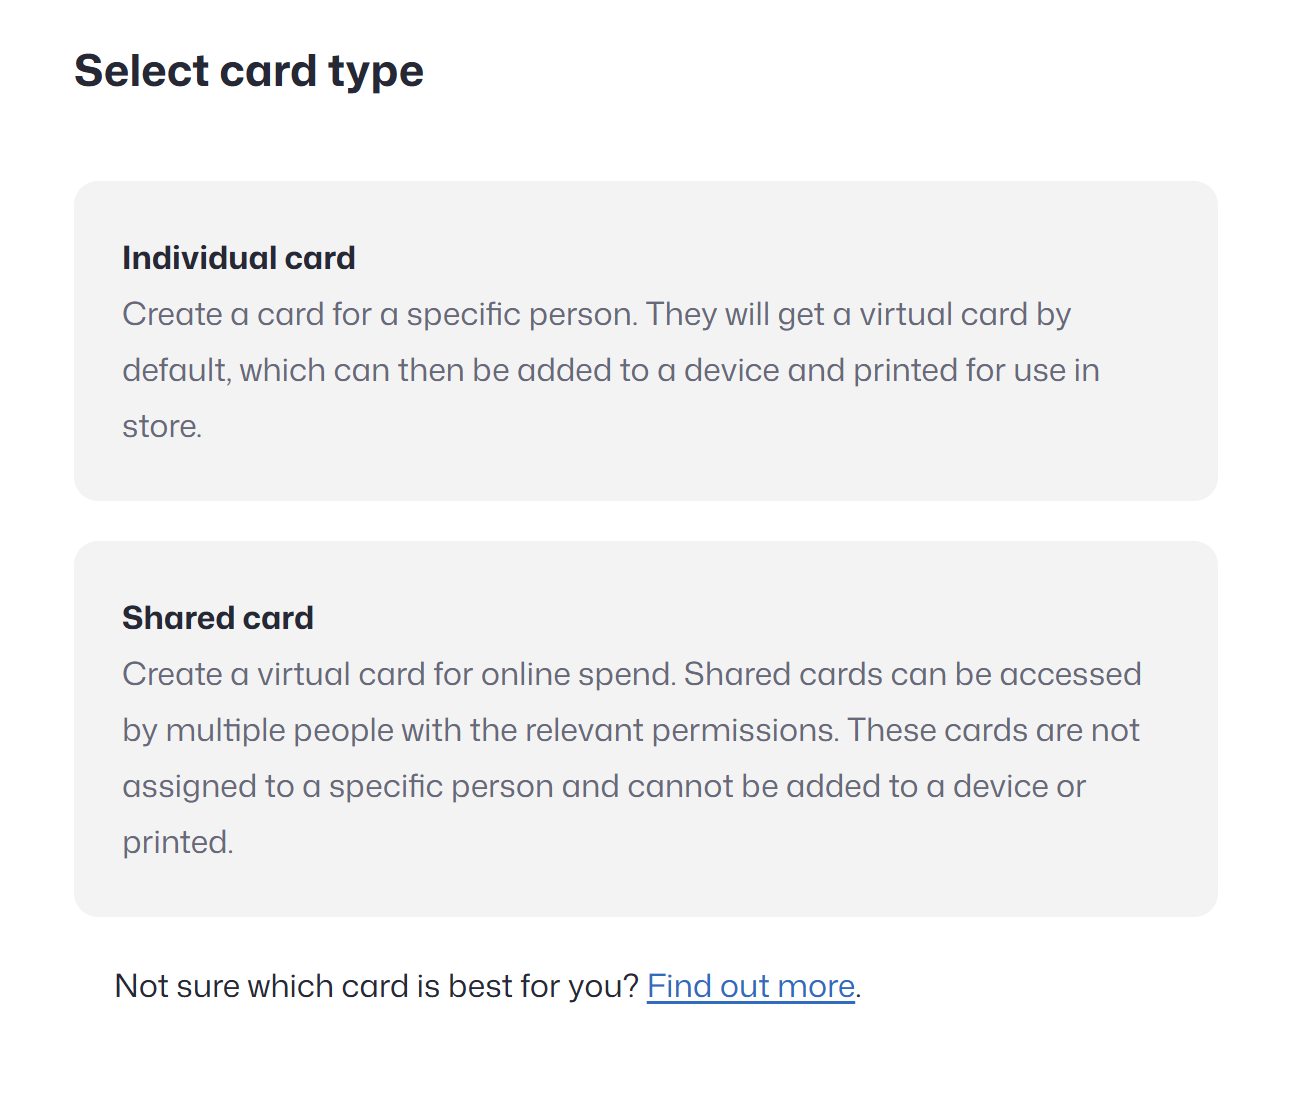
You will then need to choose either an Individual or Shared card. This article will discuss Shared cards.
Recommended article: What’s the difference between Individual and Shared cards?
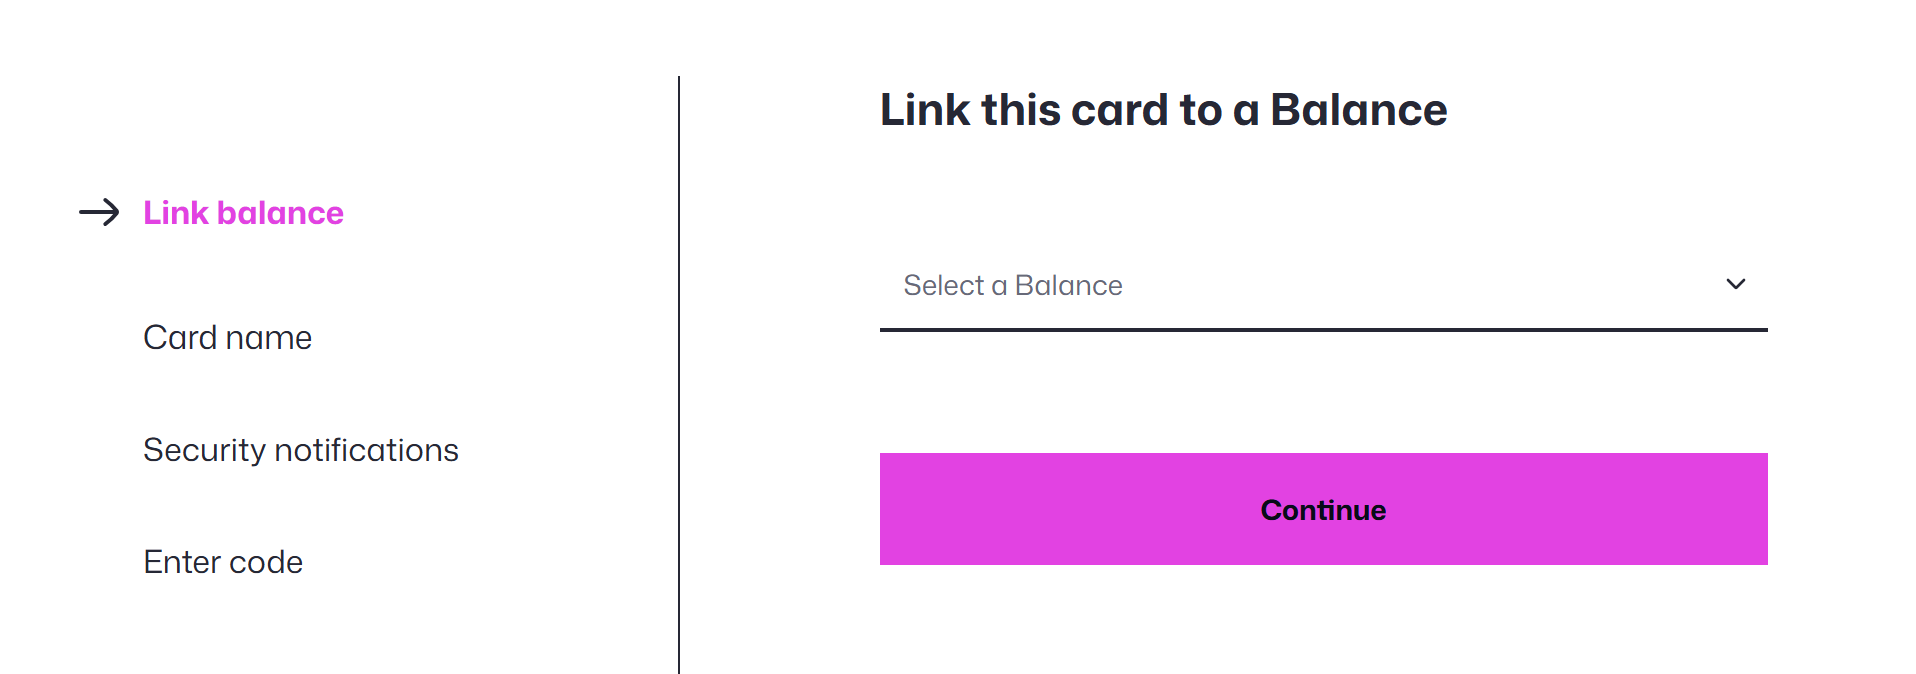
Choose a Balance for the Card
When setting up a new card, the first step is to choose which Balance it should draw from.
- The card will be able to spend from that Balance, in any currency that’s active on it.
- Giving a card access to a Balance doesn’t mean it can use all the funds unless you want it to. You’ll be able to set a spending limit later to control how much the card can access.
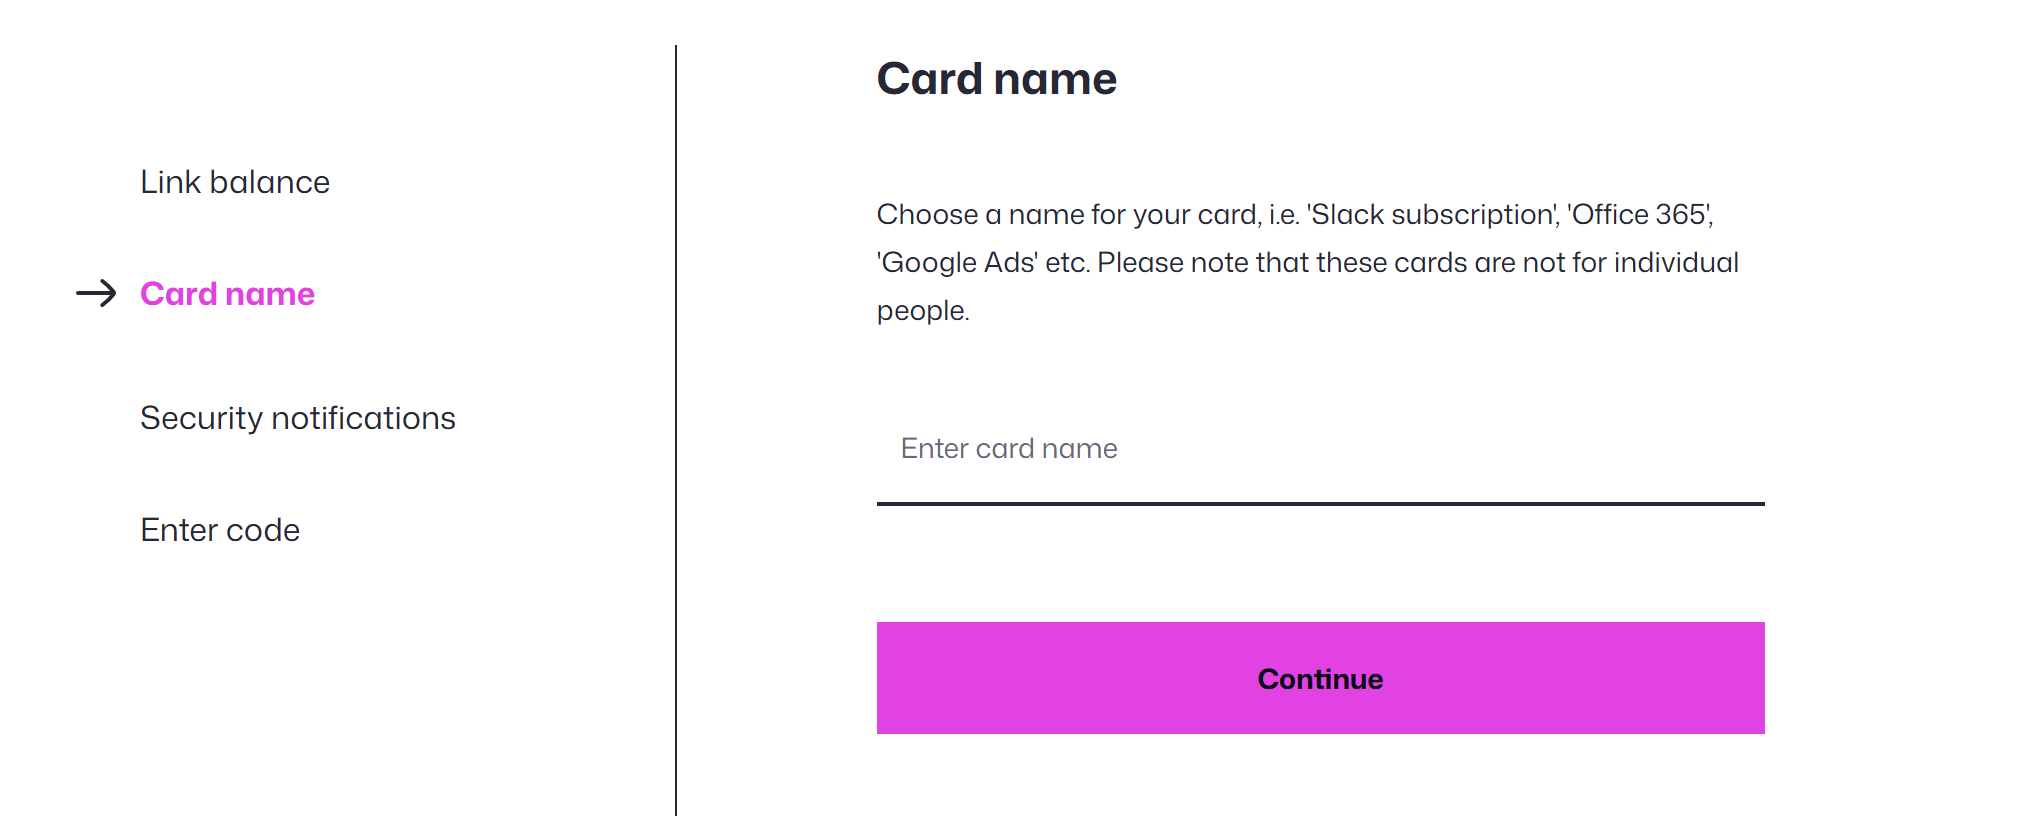
Next, you’ll be asked to give the card a name.
We recommend choosing a name that reflects its intended purpose, so it’s easy to recognise later. For example, Manchester Office Management or Slack Subscription.
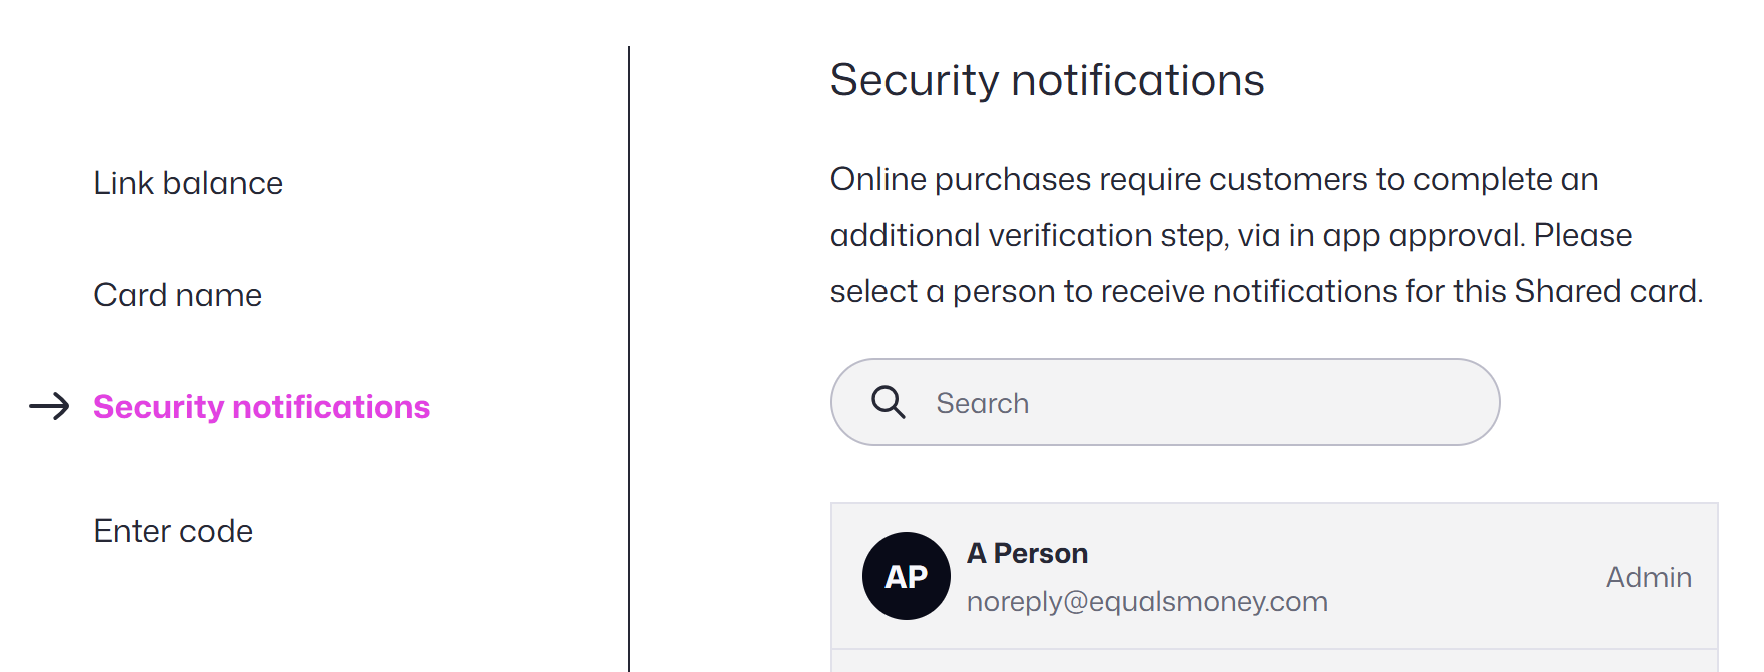
Finally, you’ll need to select a person to receive online payment notifications for the card.
Just like with other payment cards, some online transactions may trigger security notifications. These usually require the recipient to approve the transaction before it can go through.
Congratulations, you’ve created your Shared card! As soon as you finish the card menu will appear.
This will allow you to:
- View the card details
- Edit the card name
- Set spending limits
- Cancel the card
Recommended article: Setting card spending limits