


How to create an Individual Card
Create a card
First, ensure you have added your intended cardholder to your Equals account.
Recommended article: How to add a person
Go to the “Cards” page and click “+ Create card”. You will then need to choose either an individual or shared card.
Recommended article: The difference between individual and shared cards?
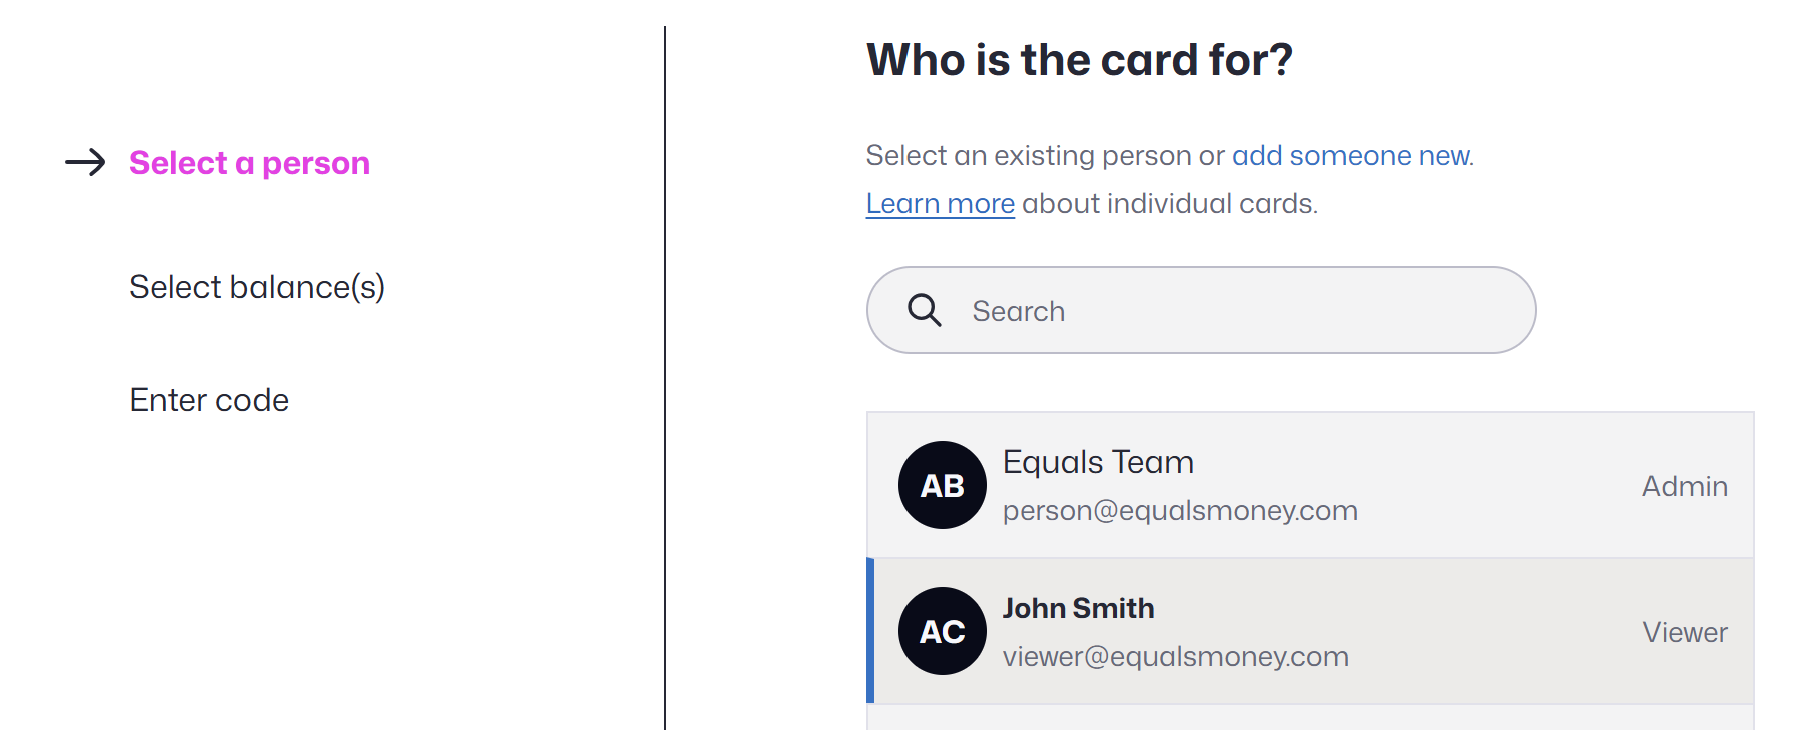
Once you have selected “Individual card” you will need to select the person the card is for from a list.
Anyone with the role “Accountant” on your account will not be on the list. This is because they are for third parties, therefore they cannot hold an Individual card of their own.
Choosing Balances
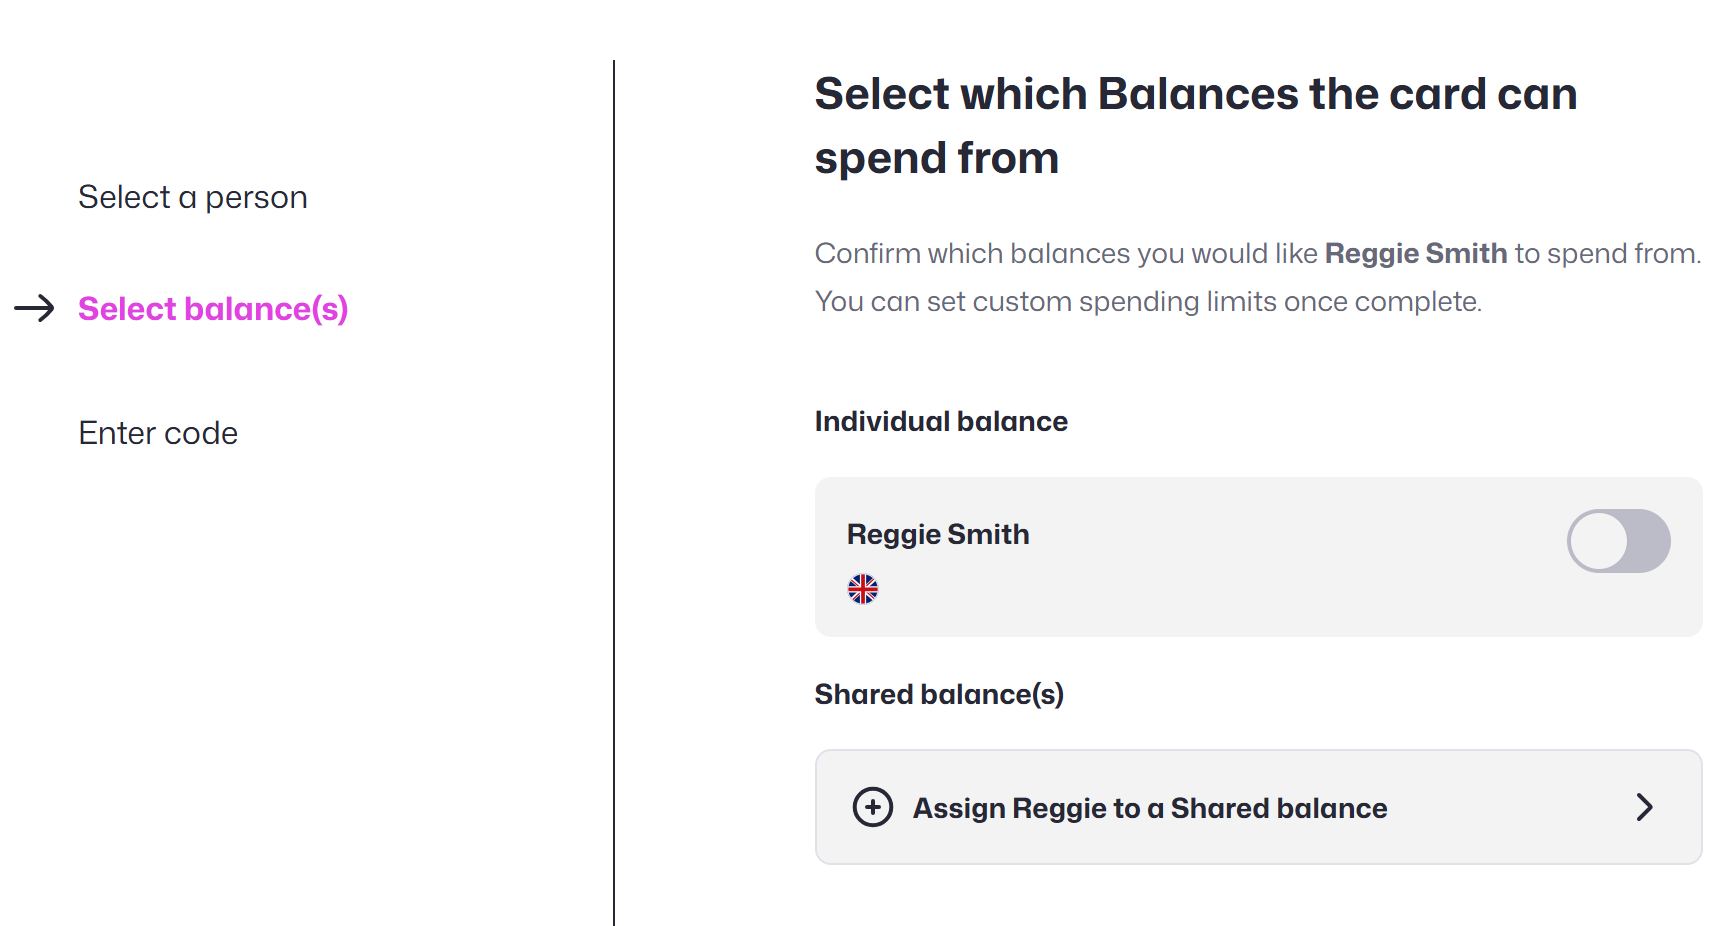
Next, you will need to select which Balances the card will have access to. The card will be able to draw money from these Balances, in any of the 21 currencies held on those balances.
Allowing a card to draw from a particular Balance does not mean you need to give them access to draw down all the funds held in that Balance (although you can). You can limit how much money the card can access by setting a spending limit after it’s created.
You can choose to allow the card to draw from multiple Balances at this point, Individual and/or Shared Balances. An individual balance will be a new balance accessible only to that person. A shared balance is a Balance that can be shared by multiple people, for example, a department or project group.
Although a card can only draw from one Balance at a time, giving it access to multiple balances means the cardholder can choose to draw from different balances whenever necessary.
For example, someone may want to spend from the “Office budget” when buying some extra coffee for the office, but switch to their individual Balance when paying for their own travel on a business trip.
Sometimes when you create a card you may find the person is already assigned to a balance. In this case, you can use the toggle to choose whether the card being created can drawn from that Balance. If you need to create a new shared Balance, you can do this on the Balances page.
Balance roles
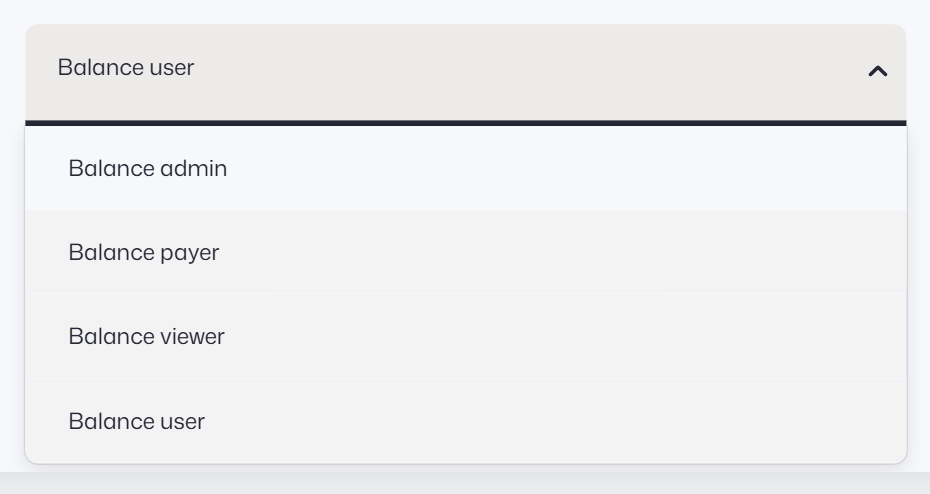
If you decide to assign the cardholder to an existing Shared Balance, you will be asked to choose a Balance role for the person. Balance roles allow you to choose how much control over the Balance someone has.
For example, a Balance Admin has full control over adding funds and people to the Balance and making transfers. A Balance User on the other hand can only see their own activity and spend from the balance.
People added to Individual Balances automatically have the role of Balance Payer on that Balance.
For more information on all four Balance role options, see our article below:
Recommended article: Assigning people to balances
If you give the card multiple balances to draw money from, on the next page you will be asked to choose which Balance the card should draw from first.
Cardholders can always switch between the balances they have access to. Admin and Owners can change the active balance for any card.
Your virtual card is ready
All individual cards start as virtual cards by default, however you can choose during the process whether you also want a physical card.
Using individual cards as virtual makes it possible for cardholders to immediately start spending online and in store by uploading the card to either Apple pay, Google pay or Samsung pay.
Create a physical card
You can now go on to order a physical card, if you need one. If you are unsure if a physical card is needed, you can always order a physical card version of the virtual card at a later date.
You will be asked to select an existing address on the system for the card to be sent from. People with the role of Owner can also add a new address at this stage.
If you are ordering a card for yourself, you will be asked to set your PIN straight away. If you are ordering for someone else, the PIN will be set randomly and the cardholder will be able to view it on their account.
If you order a physical card, when you receive and activate the card any virtual cards uploaded to devices will continue to work. Just be aware that the expiry date and 3 digit security code (CVV) of the virtual card will change, so if you have already saved the virtual card details to an online merchant you will need to edit them.

Get started with the new card
The physical card should arrive in around 3 to 5 working days. While waiting for the card to arrive, you can use the virtual card details online and use for device payments with Apple Pay, Google Pay and Samsung Pay.
Please note that once you receive and activate a physical card, the CVV and expiry date of the virtual card will update, so if you have already used and saved virtual card details with an online merchant you will need to update them.
Recommended article: First steps for cardholders
Recommended article: Setting card spending limits