


How to order cards and set limits
Individual cards
Individual cards are ordered for a specific person. All Individual cards start as virtual cards by default, after which you can decide if that card needs to be printed physically and sent to you. The cardholder can also use their individual card with Apple Pay, Google Pay or Samsung Pay. Individual cards can be assigned to, and spend from, more than one multi-currency Balance. The cardholder will be able to choose via their account which of their card Balances they want to spend from.

Shared cards
Shared cards are not assigned to individuals and should be named based on their specific use-case, for example, "Slack subscription". Shared cards are virtual cards only, which means they can only be used for online purchases. Unlike Individual cards, Shared cards cannot be added to Apple Pay, Google Pay or Samsung Pay.
Physical or virtual cards?
We recommend you only order physical cards if you need them for making transactions that require a physical card to be present with the person spending. There are a number of advantages to virtual cards: They can be created and ready to use in a matter of seconds.
- There is no risk of misplacing the card
- It is not necessary to keep track of the card’s location and keep it in a secure place
- There is no environmental cost from the plastic involved in producing a physical card.
Creating cards
You can order a card for yourself or someone else if you are a Primary Owner, Owner or Admin. Balance admins can order shared cards on their balance if Cards has been enabled on their balance.
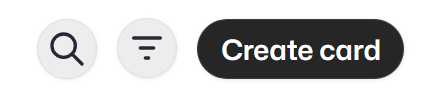
Please log in to your account and go to “Cards” from the menu on the left. If you are on our mobile app, this will be at the bottom of the screen. Click the “+ Create card” option at the top of the screen.
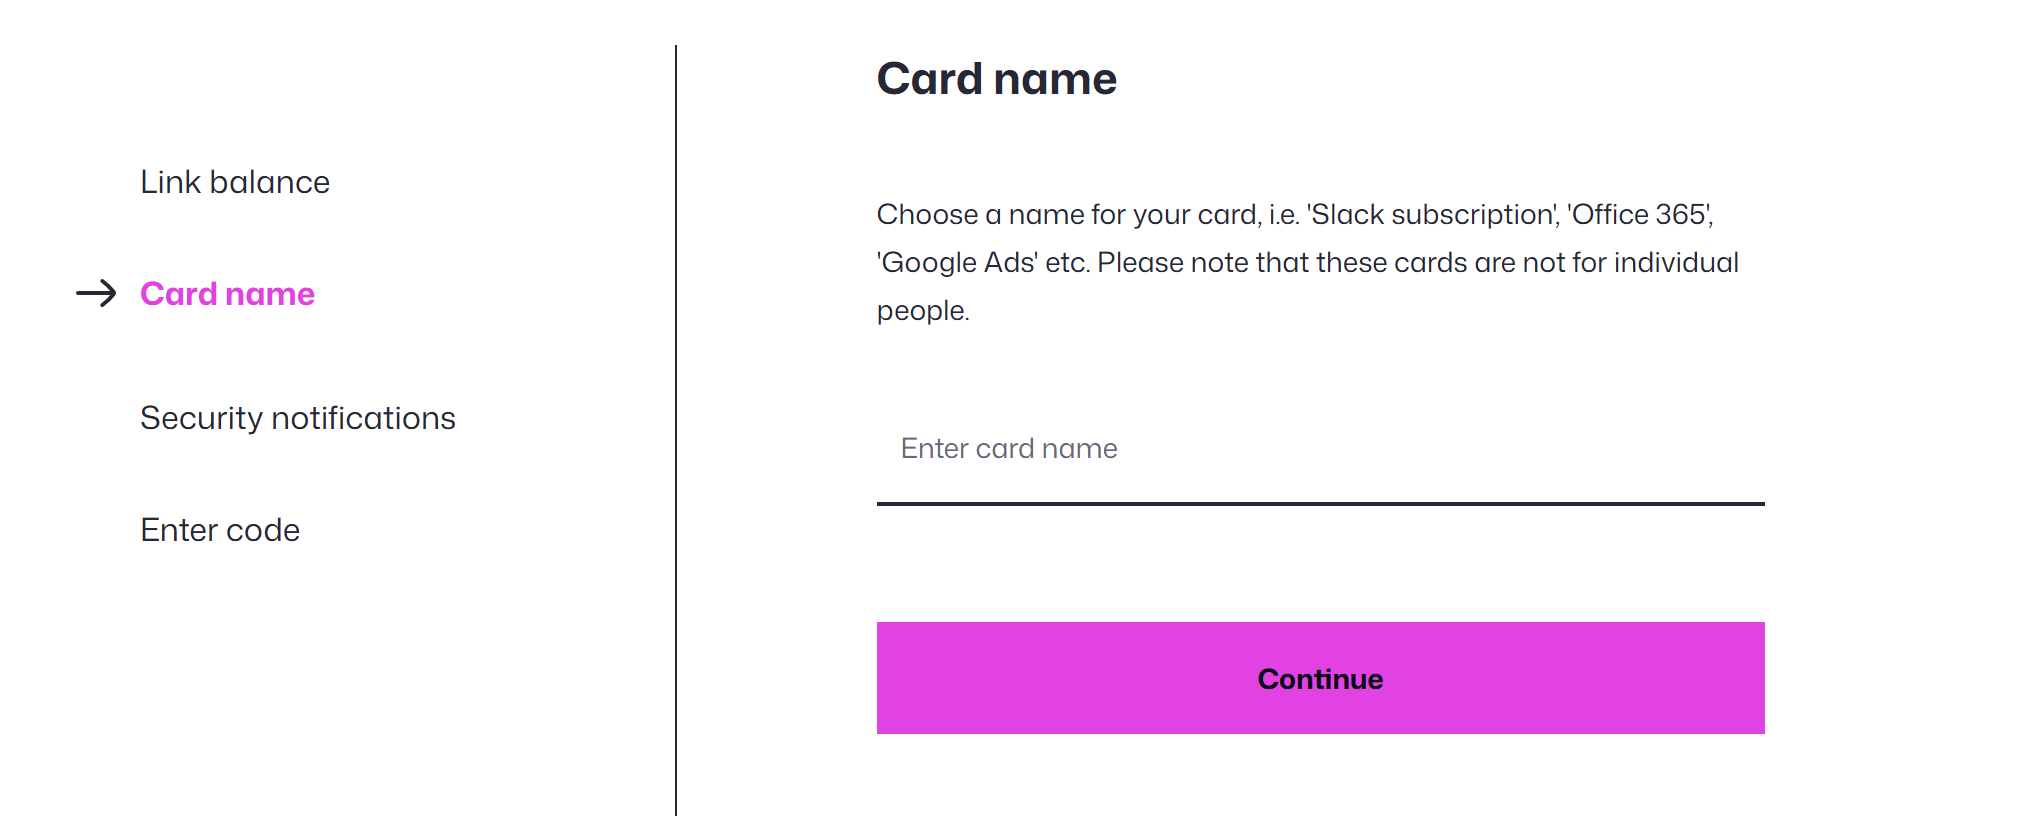
On the next page, you can choose between ordering a Shared or an Individual card. Shared cards are virtual cards which are not assigned to specific people, they can therefore be shared by departments, project groups or assigned to specific purposes (eg to pay a subscription). Individual cards can be physical or virtual. Unless you need the card to make transactions in physical stores, we usually recommend virtual cards as they can be issued to you instantly and their details are always secure on the platform. Next, you will be asked to give the card a name. We recommend giving your card a name that refers to its intended purpose.
Setting limits
Until you set a limit on a card, it will have full access to the available balance that it’s assigned to.
It’s possible to set two types of spending limits:
Spend limits
To set a limit on a card, go to the “Cards” page of your account. Your cards are organised into "Individual" and "Shared" tabs. Select the card you want to set a limit for and the card details panel will appear.
Select the option for spending limits:
Choose to activate limits on the card:
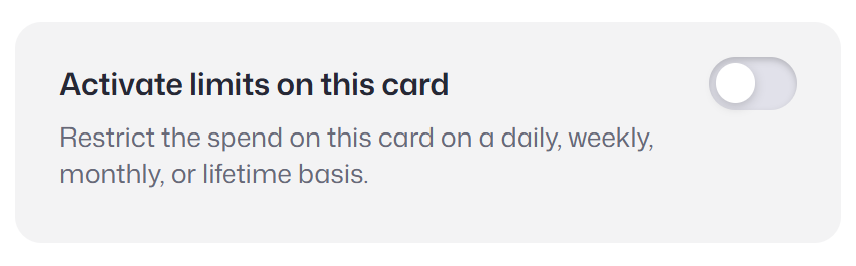
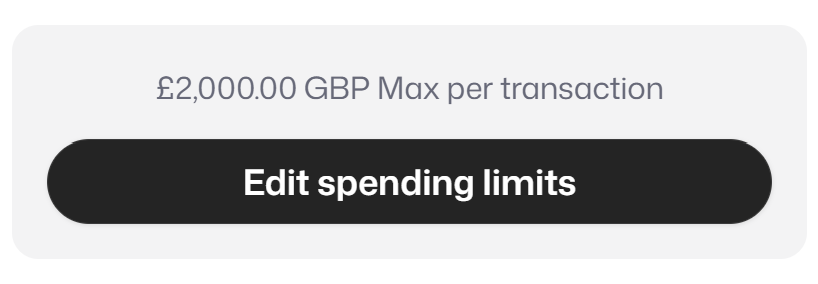
Once that has been turned on, you will be able to set a value of the spending limit for that card, and the period that limit should cover:
- Daily (Limit refreshes every day at 00:00 UTC.)
- Weekly (Limit refreshes every Monday at 00:00 UTC.)
- Monthly (Limit refreshes the 1st of every month at 00:00 UTC.)
- Lifetime (Limit does not automatically refresh.)
Limits can be changed at any time.
It is also possible to set the limit to 0, which prevents any spend happening on the card.
ATM blocks
You can choose to block ATM withdrawals for added security. Go to the “Cards” page and select the relevant card. In the card details panel, go to settings (under the image of the card). On the next page, there is a toggle for ATM blocks.
